
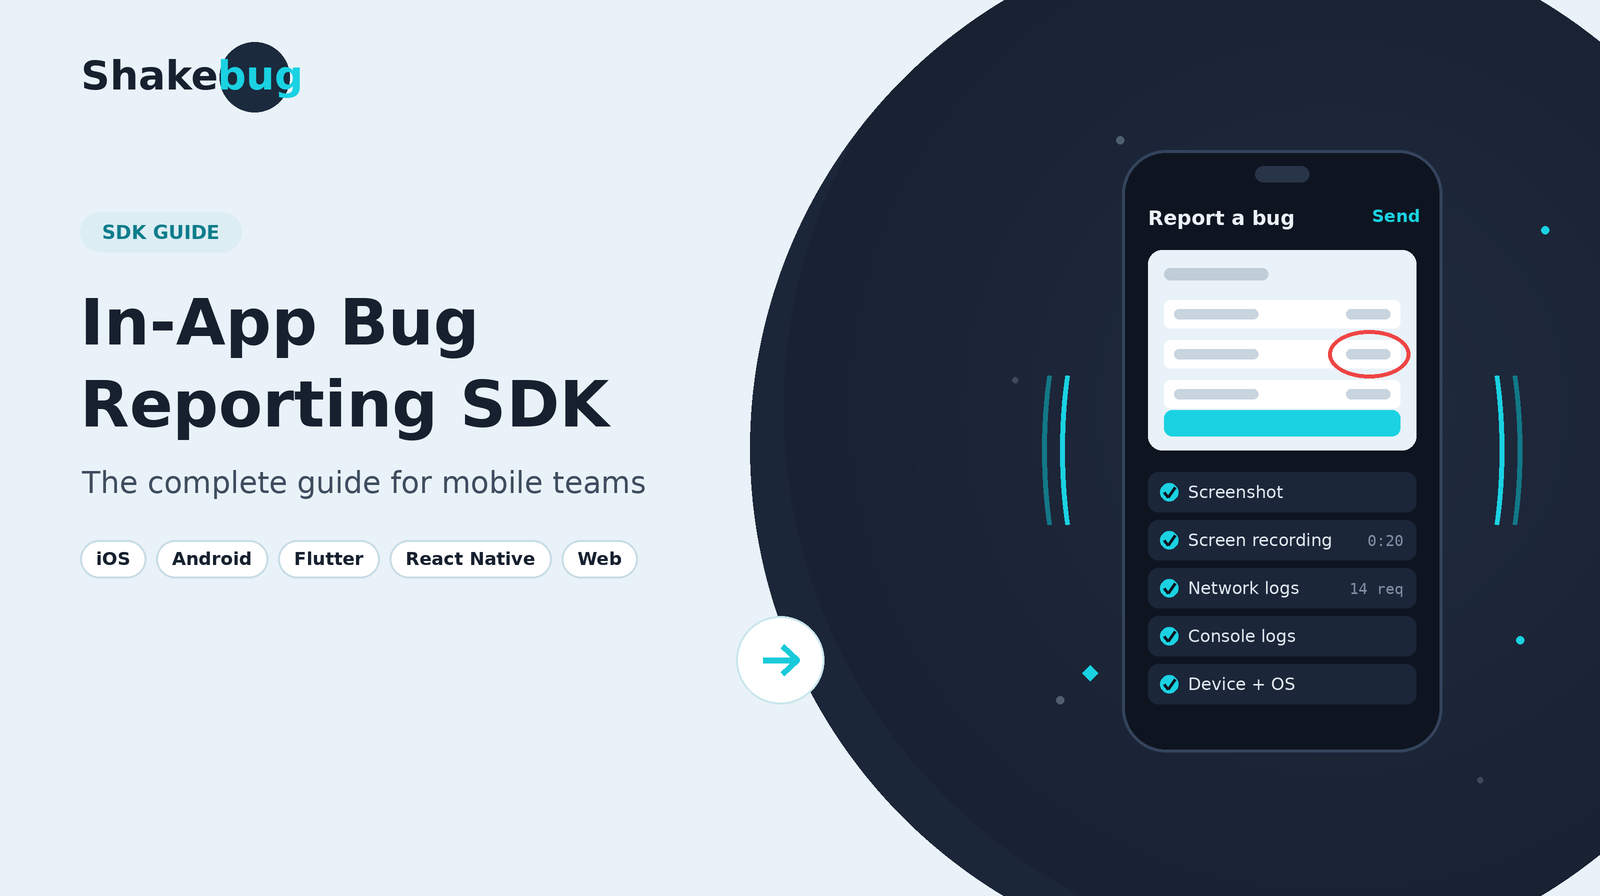
An in-app bug reporting SDK is a library you add to your mobile app so testers and users can file a bug from inside the app. The report arrives with an annotated screenshot, a screen recording, network and console logs, and device details already attached. Shakebug does this with one SDK family for iOS, Android, Flutter, React Native and web, and it has a free plan with no credit card required.
This guide covers what these SDKs actually capture, how each platform is set up, what happens to a report after it’s filed, and what to check before you pick one. If you already know your platform, jump straight to its setup guide: iOS, Android, Flutter, or React Native.
Why crash reporting alone misses most bugs
Crash reporters only see crashes. A checkout total that’s off by one cent, a button that does nothing on one Android skin, or a screen that renders blank after a slow API call never throws an exception. So they never show up in Crashlytics or any other crash-only tool.
Those bugs reach you as a Slack message: “checkout is broken.” Then comes the usual back-and-forth. Which device? Which build? What did you tap before that? Were you logged in? By the time you have answers, the tester has moved on and the state that caused the bug is gone.
An in-app bug reporting SDK fixes that by recording the context at the moment someone notices the problem. The tester doesn’t need to know what a stack trace is. They shake the phone, circle the wrong number, type one line, and send.
What an in-app bug reporting SDK captures
Here’s what a Shakebug report contains, compared with what a crash-only tool gives you for the same issue:
| Data | Crash-only reporter | Shakebug in-app report |
|---|---|---|
| Stack trace for crashes | Yes | Yes, captured automatically |
| Non-crash bugs (wrong UI, logic errors) | No | Yes, filed by shake, screenshot, or a button |
| Annotated screenshot | No | Yes |
| Screen recording | No | Yes |
| Network requests | No | Yes |
| Console logs | Partial (breadcrumbs, depending on the tool) | Yes |
| Device model, OS version, app version | Yes | Yes |
| What the user did before the bug | Breadcrumbs, if you instrument them | Session Journey timeline |
| Who the user is | If you set a user ID | User Journey, once you set custom user details |
Network logs are usually the part that closes the ticket. Most “the screen is empty” bugs turn out to be a 401 or a malformed payload. For a walkthrough of reading them in a real report, see how to capture network logs in React Native.
Four ways a report gets filed
Shake-to-report gets the attention, but it’s one of four triggers. You’ll likely want more than one.
Shake the device. On by default on every mobile SDK. You can turn it off if shaking conflicts with a feature in your app (a dice game, a fitness tracker).
Take a screenshot. The OS screenshot gesture opens the reporter. This is off by default in the React Native, Flutter and web SDKs and on by default in the iOS SDK, according to the property tables on the installation docs.
Call it from your own UI. Put a “Report a problem” item in your settings menu and call triggerBugReporting(). This matters for production users, who won’t know about the shake gesture.
Crash. Unhandled crashes are captured and sent without anyone doing anything. On iOS you can also attach a recording of the last 18 to 20 seconds before the crash with allowAutoCaptureScreenForCrashes(true). The docs note that this can cost a little UI performance, so test it on your lowest-end supported device before you ship it.
Here’s the manual trigger on native iOS and Android:
// iOS (Swift)
ShakeBugSDK.sharedInstance.triggerBugReporting()

// Android (Kotlin)
ShakeBug.sharedInstance().triggerBugReporting()
Setup by platform
Every platform follows the same three steps. Create a project in the Shakebug dashboard, copy the app key, and initialize the SDK once at app start. The snippets below show only the initialization. Each platform guide covers permissions, optional settings and testing in full.
iOS (Swift, Objective-C, SwiftUI)
Swift Package Manager is the recommended install. Add the package https://github.com/softnoesis/ShakeBug/ in Xcode and pick the latest version. CocoaPods still works but is deprecated. The minimum deployment target is iOS 13.0.
import ShakeBug

func application(_ application: UIApplication,
                 didFinishLaunchingWithOptions launchOptions: [UIApplication.LaunchOptionsKey: Any]?) -> Bool {
    ShakeBugSDK.sharedInstance.initiateWithKey("YOUR_IOS_APP_KEY")
    return true
}
You also need NSPhotoLibraryUsageDescription in Info.plist. Full walkthrough: iOS bug reporting with Shakebug.
Android (Kotlin, Java)
Add the Gradle dependency, and add maven { url 'https://jitpack.io' } under your repositories:
// app/build.gradle
implementation 'com.softnoesis.shakebug:ShakeBug:1.2.51'
Then initialize in your Application class or launch activity:
override fun onCreate(savedInstanceState: Bundle?) {
    super.onCreate(savedInstanceState)
    ShakeBug.sharedInstance().initiateWithKey(this, "YOUR_ANDROID_APP_KEY")
}
Check the installation docs for the current SDK version before you copy the version number. Full walkthrough: Android bug reporting with Shakebug.
Flutter
Shakebug ships as an official Flutter plugin, so there’s no native host code to write. Run flutter pub add shakebug, then wrap your root widget:
import 'package:shakebug/shakebug.dart';

void main() {
  runApp(
    ShakebugSDK(
      androidAppKey: 'YOUR_ANDROID_APP_KEY',
      iosAppKey: 'YOUR_IOS_APP_KEY',
      child: MaterialApp(home: const HomeScreen()),
    ),
  );
}
Crash capture is on by default through allowCrashReport, and it covers both Dart exceptions and native crashes. Full walkthrough, including the Android and iOS permissions: Flutter crash reporting SDK setup guide.
React Native
Install the package with npm install shakebug-react-native and run cd ios && pod install. Android needs minSdkVersion 24 or later. Then wrap your app in ShakebugView:
import ShakebugView from 'shakebug-react-native';

export default function App() {
  return (
    <ShakebugView
      Android_appkey="YOUR_ANDROID_APP_KEY"
      iOS_appkey="YOUR_IOS_APP_KEY"
    >
      <NavigationContainer independent>
        {/* your app */}
      </NavigationContainer>
    </ShakebugView>
  );
}
If NavigationContainer sits inside ShakebugView, pass it the independent prop as shown above. Full walkthrough: React Native crash reporting guide. Already on Crashlytics? The Crashlytics to Shakebug migration guide shows how to run both side by side before you switch.
Web (React, Next.js and other JS apps)
The web SDK is the @softnoesis/shakebug-js npm package. It’s a React component, so react and react-dom are peer dependencies:
import '@softnoesis/shakebug-js/dist/index.css';
import { Shakebug } from '@softnoesis/shakebug-js';

function App() {
  return (
    <>
      <Shakebug appKey="YOUR_APP_KEY" bundleId="https://your-site.com" showFloatingButton={true} />
      {/* your app */}
    </>
  );
}
Users can also open the reporter with Cmd + Alt + K on macOS or Ctrl + Alt + K on Windows and Linux. If you only need testers to report bugs on a site you don’t control the code for, the Shakebug Chrome extension does it with no install in the app.
Useful calls after the SDK is in
Three calls make reports much easier to act on. The method names are the same on every platform, and the argument styles differ slightly.
Identify the user. Once you set custom user details, every bug, crash and session from that person links together in their User Journey.
// React Native
addCustomUser("user_123", "John Doe", "john@example.com", "US", "beta tester");

// Android (Kotlin)
ShakeBug.sharedInstance().addCustomUser("user_123", "john@example.com", "John Doe", "US", "beta tester")
Log custom events. addEventKey attaches an event (for example “checkout_started”) to the timeline, so a report shows the business step the user was on, not just the screen.
Hide sensitive screens. In React Native, wrap anything private in ShakebugSdkProtectedView so it isn’t captured in screenshots or recordings.
From report to fix: Session Journey and Crash AI
Getting the report filed is half the job. The other half is making it quick to act on.
Session Journey shows the timeline that led to the bug: sessions, screens, events, earlier bugs and crashes, in order. It works for anonymous users too, grouped by device, so apps without a login still get the full story. Here’s how that looks on a real report: session replay for mobile apps with Session Journey.
Crash AI handles the other side. One bug in a release can produce hundreds of crash reports, and obfuscation or inlining can make identical crashes look different. Crash AI groups duplicates into one issue with a first-seen date, the affected devices and OS versions, and a trend. That means your team triages one issue instead of 200 alerts. Why exact stack-trace matching fails and what pattern-based grouping does instead: why obfuscated builds break crash grouping. Product overview: AI crash grouping.
From there, reports go to the tools your team already uses. Shakebug integrates with Jira, Linear, GitHub, GitLab, Slack, Trello, Asana, ClickUp, Monday.com, Wrike and email.
What to check before you pick an in-app bug reporting SDK
Run through this list against any SDK you’re evaluating, including Shakebug:
Does it cover every platform you ship? If you have a Flutter app and a React web dashboard, one vendor for both means one place to triage. Check that each platform has a real SDK, not just a webview wrapper.
What’s attached without extra code? Network logs and console logs should come for free. If you have to write an interceptor to get network data, most testers’ reports will arrive without it.
How are crashes grouped? Ask how the tool handles obfuscated or minified builds. Exact stack-trace matching creates duplicate issues after every release.
Can you control what’s captured? Look for a way to exclude sensitive screens, and for a self-hosted or on-premise option if your data can’t leave your infrastructure. Shakebug has a self-hosted plan, and the SDK supports a custom endpoint.
How is it priced? Per-event pricing punishes you in exactly the release where crashes spike. Check what the free tier includes and what the paid tier costs as your monthly active users grow. Shakebug’s plans are on the pricing page.
And where Shakebug is not the right tool: it isn’t a backend APM or server-side tracing product. If your main problem is slow database queries or distributed tracing across microservices, you need an observability tool, and Shakebug can sit next to it for the mobile side. The installation docs also list no SDK for Unity or Kotlin Multiplatform, so check for yourself if you need one of those. For side-by-side comparisons, see the best mobile crash reporting tools in 2026.
Frequently asked questions
What is an in-app bug reporting SDK?
It’s a library you add to a mobile or web app so users and testers can report a bug from inside the app. The SDK attaches a screenshot, screen recording, network and console logs, and device details to the report automatically, so developers don’t have to ask for them.
Is there a free bug reporting SDK for iOS and Android?
Yes. Shakebug has a free Basic plan with no credit card required. It covers iOS and Android, plus Flutter, React Native and web. Current limits for each plan are listed on the Shakebug pricing page.
What’s the difference between a bug reporting SDK and a crash reporting SDK?
A crash reporting SDK only captures crashes and unhandled exceptions, automatically. A bug reporting SDK also lets people report problems that don’t crash the app, like wrong data, broken layouts or buttons that do nothing, with visual and log context. Shakebug does both in one SDK.
Do I need a separate SDK for each platform?
You install the package that matches your stack: the native SDK for iOS or Android, the shakebug plugin for Flutter, shakebug-react-native for React Native, or @softnoesis/shakebug-js for web. All of them report into the same Shakebug dashboard, so a team shipping several platforms triages everything in one place.
Can users report bugs without shaking the phone?
Yes. You can trigger the reporter from a screenshot or from your own button with triggerBugReporting(). On web there’s a floating button and a keyboard shortcut. Shake-to-report can be turned off entirely.
Get started
Pick your platform guide above, or create a free Shakebug account and copy your app key from the dashboard. Setup is one package and one initialization call. Shake your test device once, and the first report shows up in your dashboard with the screenshot, logs and device details attached.