
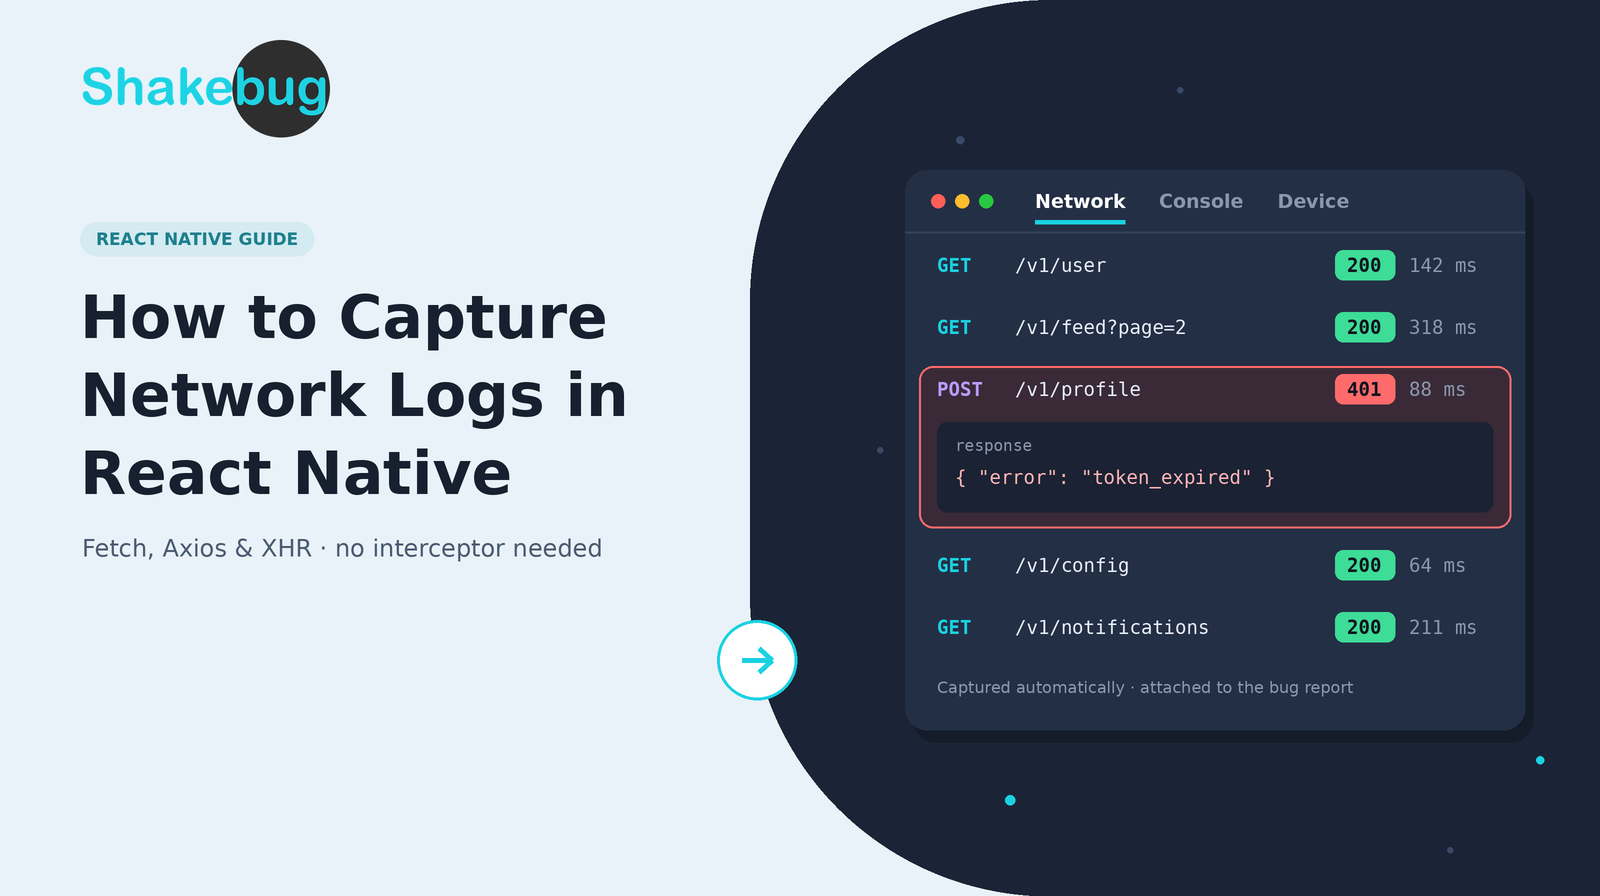
How to Capture Network Logs in React Native
This is for React Native teams who already have Shakebug installed and want to use its network logs to debug API failures. If you haven’t set up the SDK yet, follow the React Native crash reporting setup guide first. This post assumes ShakebugView is already wrapping your app.
There’s no network interceptor to write and no config flag to turn on. Shakebug hooks into React Native’s fetch and XMLHttpRequest layer. Once the SDK is mounted, every request your JS code makes gets attached to the next bug report or crash. The steps below explain why that matters, what gets recorded, how to confirm it’s working, and how to read the logs when a report comes in.
Step 1: Know which bugs network logs actually solve
A tester files “Save button does nothing.” The screenshot shows a form and a spinner that never stops. The recording shows them tapping Save three times. Neither one tells you why.
The network log usually does. Most “nothing happens” reports in a React Native app come down to one of these:
- Expired or missing auth token. The API returns
401, your code swallows it in acatch, and the UI stays stuck in its loading state. - Payload drift after a backend deploy. The server now expects
phone_numberand the app still sendsphone. You get a422whose response body names the field. - Wrong base URL in a release build. A staging URL leaked into
.env.production, or a release build is pointing atlocalhost. - Cleartext HTTP blocked in release. Android 9+ and iOS App Transport Security block plain
http://by default. The request never gets a status code, and it only fails outside debug builds. - Timeouts on slow networks. It works on office Wi-Fi but times out on a tester’s mobile data. The latency column shows it immediately.
In all five cases the UI looks identical: something didn’t happen. The request and response are what tell them apart.
Step 2: See what Shakebug records for each request
According to Shakebug’s React Native SDK page, the SDK hooks the native XMLHttpRequest and fetch modules. For each request it records:
- The request URL
- The response status code
- Latency (how long the request took)
- Headers
- The response payload
Axios is covered too. In React Native, Axios sends requests through XMLHttpRequest, which is the layer Shakebug hooks. The same goes for most wrappers built on fetch, such as ky, RTK Query’s fetchBaseQuery and Apollo’s HTTP link.
These logs ship with the rest of the report: the annotated screenshot, the screen recording, console logs from console.log/warn/error, and device data (model, OS version, app version). So a failed request sits next to what the user was looking at when it failed.
Step 3: Confirm capture is working in your existing integration
Shakebug’s installation docs don’t list a network-logging prop. Capture comes with the SDK itself. Nothing needs enabling, but it’s worth checking three things.
1. ShakebugView wraps your root component. Open App.js (or App.tsx) and check that ShakebugView sits at the top of the tree with both app keys set:
import ShakebugView from 'shakebug-react-native';

export default function App() {
  return (
    <ShakebugView
      Android_appkey="YOUR_ANDROID_APP_KEY"
      iOS_appkey="YOUR_IOS_APP_KEY"
    >
      <NavigationContainer independent>
        {/* your app */}
      </NavigationContainer>
    </ShakebugView>
  );
}
If you use React Navigation’s NavigationContainer inside ShakebugView, pass independent, as shown above. Shakebug’s docs require it.
2. The package is current. Run npm outdated shakebug-react-native (or yarn outdated shakebug-react-native). If you’re behind, update and run cd ios && pod install && cd .. again.
3. A test request shows up in a report. Add a temporary debug button that fires one request you know will fail, then shake the device and file a report:
import { Button } from 'react-native';

function NetworkLogTest() {
  const fire = async () => {
    try {
      const res = await fetch('https://httpbin.org/status/500');
      console.log('Test request status:', res.status);
    } catch (e) {
      console.warn('Test request failed:', e.message);
    }
  };

  return <Button title="Fire test request" onPress={fire} />;
}
Open the report in the Shakebug dashboard. You should see the GET https://httpbin.org/status/500 call with a 500 status and its latency, plus the matching console.log line in the console logs. Delete the button once you’ve confirmed it.
If the request doesn’t appear, check whether it fires before ShakebugView mounts. For example, a request in index.js before AppRegistry.registerComponent may run before the SDK is ready.
Step 4: Read the network log in a real bug report
When a report comes in, work through it in this order:
- Watch the recording first. Note the moment the user taps the thing that didn’t work.
- Find the requests around that moment. Look for anything with a
4xx/5xxstatus, no status at all (the request never completed), or latency far above normal. - Read the response payload. A
422or400body usually names the exact field or rule that failed. A401points you to token refresh logic. - Check the console logs next to it. If your
catchblock logs errors, the matching line confirms whether the app saw the failure or swallowed it. - Check the device data. A request that fails only on one OS version or app version points to a build or platform difference, not a backend problem.
Once you have the failing request, reproduce it outside the app. Take the URL and headers from the log and replay them with curl:
curl -i -X POST "https://api.example.com/v1/profile" \
  -H "Authorization: Bearer <token-from-report>" \
  -H "Content-Type: application/json" \
  -d '{"phone": "+15550100"}'
If curl gets the same response, the bug is in the API or the payload. If curl succeeds, the problem is in the app: stale state, a race in token refresh, or a request fired with the wrong values.
Treat any token you copy out of a report as live until it expires. Don’t paste it into a ticket or a Slack thread.
For bugs that span several screens, Session Journey shows the screens and events leading up to the report, so you can see which earlier action triggered the failing request.
Frequently asked questions
Does Shakebug capture Axios requests in React Native? Yes. Axios uses XMLHttpRequest in React Native, and Shakebug hooks both XMLHttpRequest and fetch, so Axios calls show up in the network log without an Axios interceptor.
Do I need to add an interceptor or enable network logging separately? No. Shakebug’s React Native installation docs have no network-logging option. Capture starts once ShakebugView wraps your app with valid app keys.
Are requests made by native modules captured? Shakebug documents hooks at the JavaScript fetch/XMLHttpRequest layer. Requests made directly in native code, for example by a native SDK using OkHttp on Android or URLSession on iOS, never pass through that layer. Assume they aren’t in the log unless you’ve checked.
Can I hide auth tokens or sensitive fields from network logs? Shakebug’s React Native docs don’t list a redaction option for network logs as of September 2026. The SDK’s ShakebugSdkProtectedView hides sensitive UI from screenshots and recordings, but it doesn’t touch network data. If your requests carry sensitive values, keep tokens short-lived and limit who has dashboard access to reports. Check the installation docs for updates.
How is this different from Reactotron or a proxy like Charles or Proxyman? Those tools only see traffic from devices connected to your machine during development. Shakebug records requests on testers’ and users’ devices, including release builds. You get the network log for a bug you couldn’t reproduce yourself.
Get started
If Shakebug is already in your app, you’re capturing network logs now. Fire one test request and file a report to confirm. If it isn’t installed yet, the React Native setup guide takes you from npm install to your first report, and the React Native SDK page covers everything else the SDK captures. Sign up free to get your app keys. No credit card needed.